Curried Chicken & Broccoli Pie


Ingredients
Pastry
345g Plain Flour
190g Cold Salted Butter, cubed
1 egg
Milk
Filling
30g Plain Flour
30g Salted Butter
300ml Milk, at room temperature
1 tbsp. Curry Powder
200g Chicken thighs, roughly chopped
100g Broccoli, raw and broken down into bite sized pieces
1-2 Egg Yolks, for egg washing

Baker: Morgan Richmond-Watson (Homemade Morgan)
Instagram: homemade_morgan
Makes: 1, 8” Pie
Prep time: 45 mins, including 30 mins chilling time. The pastry, not you sadly.
Bake time: Totally, 1hr 10
Flours used: Cotswold Plain
Method:
- To make the pastry, add the flour and butter to a food processor. Pulce for a few seconds at a time until you get a course, dry sand like texture. Add the egg and pulse again until the mixture resembles breadcrumbs. If it looks too dry, add a tbsp milk to bring it together. Tip out onto a large piece of baking paper forming it into a dough. Placing another piece of baking paper on top, roll out to about the thickness of a one-pound coin, trying to keep it as round as possible.
- Carefully peel off the top layer of paper and using the bottom layer for support as you flip the pastry over, line an 8” loose bottom pie tin. I use a non-stick one that doesn’t need greasing or lining. Gently work the pastry into the base of the tin and the ‘corners’ careful not to push too hard. Don’t worry about any holes or tears, these can be easily filled in with extra pastry.
- Trim the edges leaving 1cm or so sticking up from the pie dish, but keep hold of our trimmings, they will be used for the lid. Pop the dish into the fridge for 30 mins, and pre-heat the oven to 180º fan.
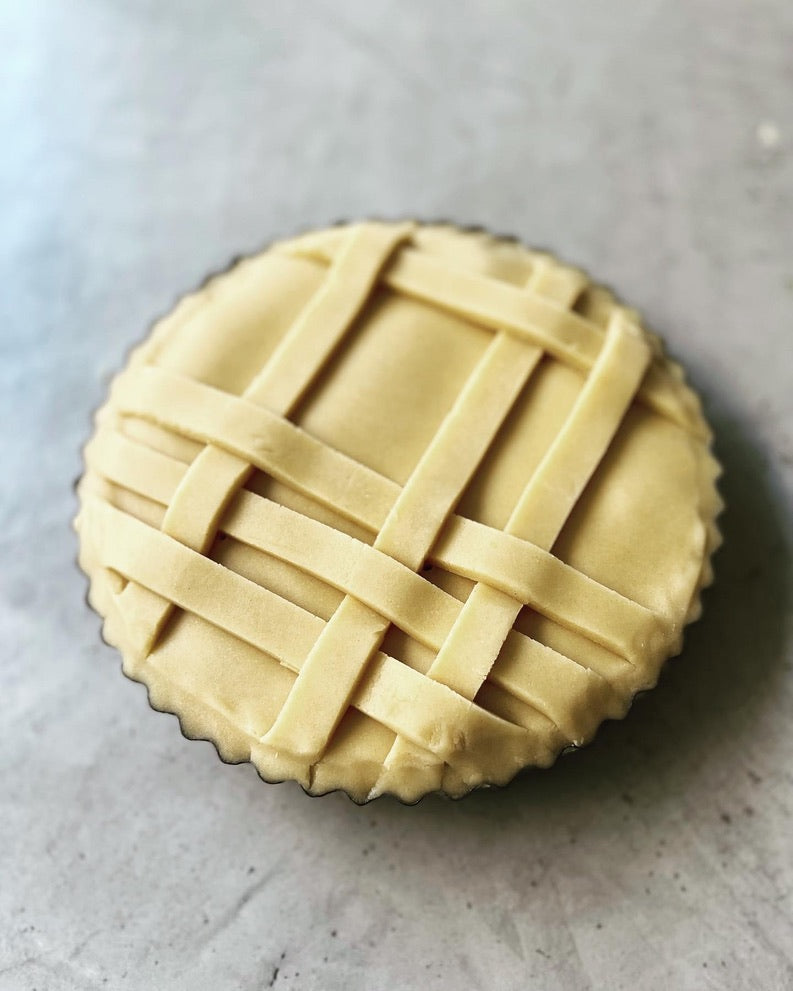
- Make your pastry lid by rolling out the trimmings, again to about the thickness of a one-pound coin. Cut a disk a little bigger than the pie dish and, leaving it on the paper and using the remaining pastry, get creative! I have gone for a simple tartan look by weaving thin strands together, but you could use cutters to add flowers, or petals, or words, get your imagination going.
- Before the start adding the details, however, brush the lid with an egg yolk that has be whisked up with a few drops of water. This will act as a sort of glue.
- When your pattern is complete, give the whole surface a generous coating of the egg wash and pop it into the fridge.
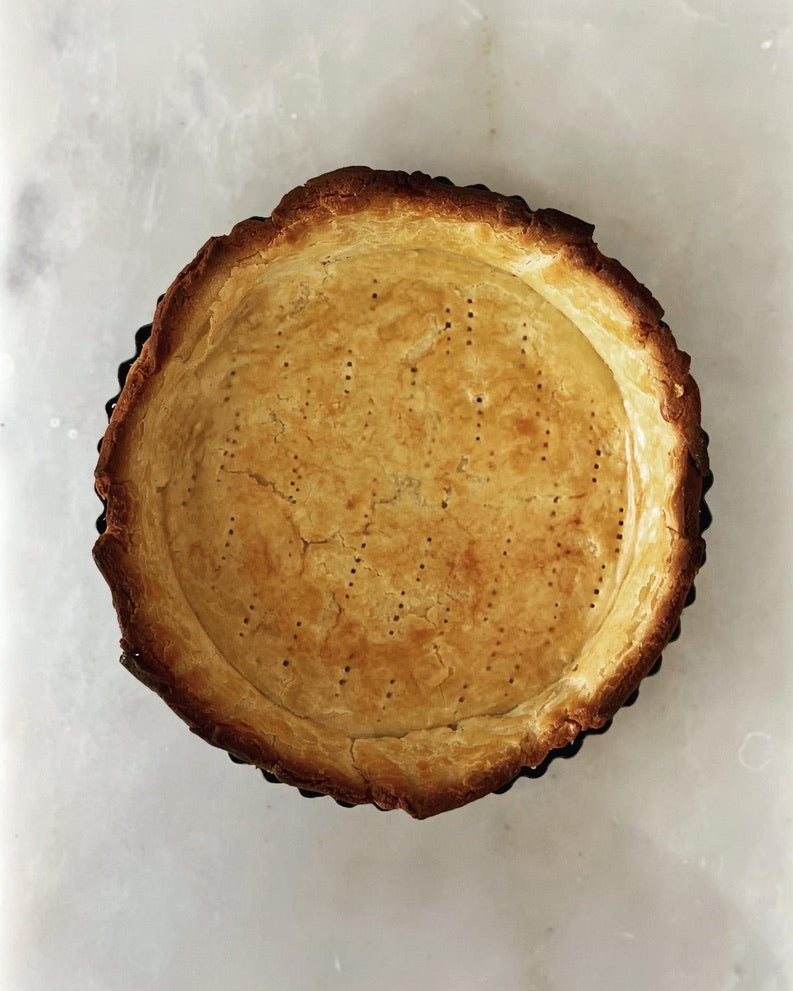
- Poke a few holes in the base of the pastry crust, line with the other piece of baking paper, fill with baking beans and pop in the oven for 20 minutes.
- After 20 minutes, remove the paper and beans and give it another 5 minutes to lightly brown the base. Remove from the oven and leave to cool slightly.
- While your pie crust bakes, make the roux for the filling. Simply add the butter and flour to a pan and gently heat. Stir often and cook out the flour for a minute or two. Slowly add the milk a little at a time, stirring continuously between each addition, only adding more milk when the last lot is fully incorporated, and the mixture is smooth.
- When the last of the milk is stirred in, add the curry powder,1 tbsp more or less depending on taste, and set aside.
- When manageable, and using a potato peeler, shave away the edges of the overhanging pastry, little by little until level with the pie dish.
- Stir your chicken and broccoli through the roux and pour into the pastry case. Remove your decorated lid from the fridge and add to the top, using a thumb and finger to gently push the edge of the lid onto the edge of the cooked pastry.
- Using the last of the egg wash, brush the entire surface of the pastry lid, ensuring you get into all the decorative details, a series of smaller and smaller brushes could be useful here…
- Using a cocktail stick, poke a few inconspicuous holes in the surface to let the steam out as the pie cooks, and back into the oven it goes for 40-45 mins until golden brown.
- Eat deliciously warm or cold the next day, if you have leftovers!
Thank you so much to Morgan Richmond-Watson for providing this recipe. If you’d like to see more, please visit their Instagram page.
← Older Post Newer Post →