Emmer and honey sandwich loaf


Ingredients
50 g active starter
300 g whole milk, at room temperature or cold
50 g water
350 g strong white bread flour
150 g emmer flour
40 g runny honey
7 g salt, or to taste
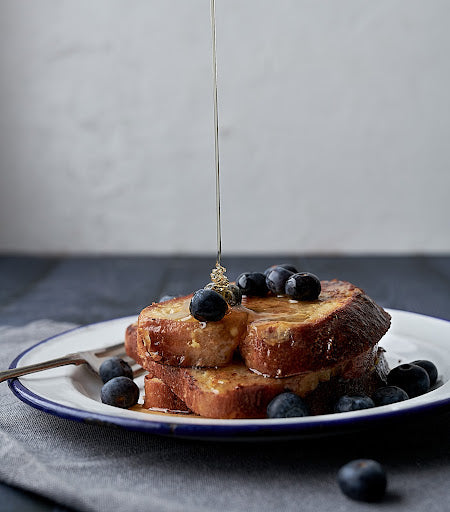
The mixture of emmer flour with added honey in this dough produces a darker bake with an amazing depth of flavor and a slight sweetness in this sandwich loaf. The dough will be soft and sticky, and you may find it “splodges” into the pan, but it then grows and bakes to a perfect loaf, so do not worry if you find the shaping challenging. It is worth the effort!
Preparation time: 24 hours, maximum 30 minutes handling time
Baking time: 40-45 minutes
Makes: 1 standard loaf
Flour used: Emmer
Equipment: 2lb loaf tin lined with a siliconised paper liner.
Method
Step 1: In the early evening, in a mixing bowl, roughly mix together all the ingredients. Leave the dough ragged, cover the bowl with a clean shower cap or your choice of cover and leave it on the counter for 2 hours.
Step 2: After 2 hours, do the first set of pulls and folds. The dough will be sticky but it will come together into a soft ball. Cover the bowl and leave it on the counter.
Step 3: Over the next few hours, perform 3 more sets of pulls and folds on the dough, covering the bowl after each set. The dough will remain sticky but nicely stretchy and will come together into a nice soft ball each time. Do the final set before going to bed.
Step 4: Leave the covered bowl on the counter overnight, typically 8 to 12 hours, at 64 to 68°F (18 to 20°C).
Step 5: In the morning, the dough will have grown, hopefully tripled in size, with a smooth surface. If the dough has not tripled yet, allow it a couple of more hours to continue to proof. Milk doughs take longer to proof than those made with water.
Have your pan ready and place the flattened paper liner on the counter. To place the dough into the pan, repeat the same pulling and folding actions that you used to build the dough and gently lift and fold small handfuls of dough from one side of the bowl into the middle in a line; turn the bowl 180 degrees and do the same on the other side so that you have a thick sausage of dough in the middle of the bowl.
With a wetted hand, place your whole hand over the dough, turn the bowl upside down and gently ease the dough from the bowl into your hand. This dough is quite sticky and you may need to encourage it out of the bowl. Place the dough, seam side down, on the paper and slip your hand out from underneath the dough. Use the paper to lift the dough into the pan, cover it with the same cover and leave it on the counter.
Allow the dough to proof again, letting it grow level with the edge of the pan and just peek over the top. This may take 2 to 3 hours, depending on the temperature of your kitchen. The surface will become smooth and the dough will spread to fill the pan.
Step 6: When you are ready to bake, decide whether you would like to bake in a preheated oven or from a cold start. If preheating, set the oven to 180°C fan assisted or 200°C non fan.
If you preheated the oven, bake uncovered for 40 to 45 minutes. If using a cold start, place the uncovered pan of dough in the oven, set the temperature as above and set a timer for 45 to 50 minutes.
Step 7: Once the loaf is risen and browned and fully baked, gently remove the loaf from the pan and the paper from the loaf, and allow the baked loaf to cool on a wire rack for at least an hour before slicing.
Find the original recipe and more sourdough using khorasan, einkorn, emmer, spelt, rye and wholemeal flours in creative ways in the fabulous book ‘Whole Grain Sourdough at Home’ by Elaine Boddy
Thank you so much to Elaine for providing this recipe. If you’d like to see more, please visit her Instagram page @elaine_foodbod
← Older Post Newer Post →